Harsh shadows can make a face look tired, hide important details, or leave a distracting black shape across the wall. Why cant I get rid of harsh shadows in my videos? Often, the problem is not your camera. It is the size, position, or intensity of the light. A small lamp close to someone’s face can create a sharp nose shadow, even when the room looks bright. That’s frustrating.
Photographer Ansel Adams famously said, “You don't take a photograph, you make it.” His words remind us that a pleasing image usually takes deliberate choices. In video, those choices include moving the light, softening it with diffusion, and adjusting the subject’s distance from nearby walls. A reflector can also lift dark areas without adding another harsh light. Small changes matter.
Still, lighting is not a perfect formula. I sometimes soften a shadow too much and lose the depth that made the shot feel real. The goal is not to erase every shadow; it is to control where it falls and how distracting it feels. This guide shares seven practical ways to get there, from repositioning a window-side subject to balancing exposure carefully. You’ll learn what to try, what to watch for on a monitor, and why a brighter room alone may not solve the problem. Start with one adjustment at a time. Then check the face, background, and overall mood before recording.
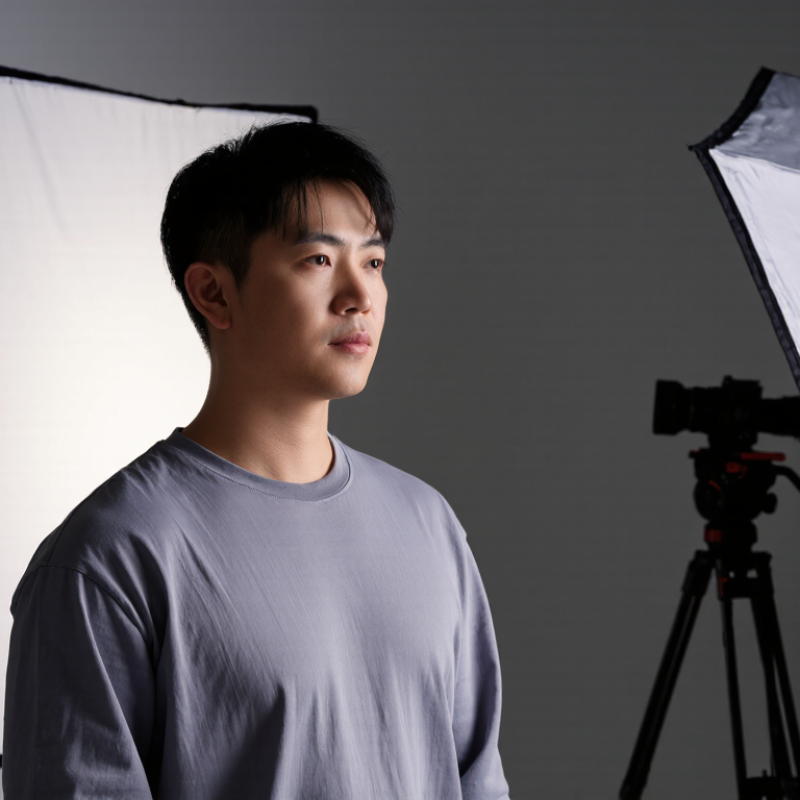
Assess the Key-to-Fill Ratio and Start Near 2:1 for Softer Contrast
Harsh shadows often come from too much difference between the key light and fill. Start near a 2:1 ratio for softer contrast.
In practical terms, aim for the lit side of the face to receive about twice the light of the shadow side, roughly one stop of difference. Keep the subject in the same position while you adjust; even a small turn toward the key can change the shadow noticeably.
Check the result on camera, not just by eye. A meter can help compare light on each cheek, but use the same measuring method each time. Add fill gradually with a reflector or a dimmer light, and watch the shadow beneath the nose and jaw.
Too much fill can flatten the face. Too little can make the eyes look lost. It’s an estimate, not a rule. Skin tone, background brightness, and the scene’s mood all affect how the ratio feels. A 2:1 setup may still look harsh in a tight shot, so make a test clip and adjust in small steps. If the shadow edge stays distracting, soften the key with diffusion or move it closer, then check the ratio again.
Increase Light-Source Size: A Larger Source Creates Softer Shadows
A light source looks soft when it appears large from the subject’s position. A broad window can wrap gentle light around a face, while a small bare bulb often leaves a crisp shadow on the wall. In a home setup, bring a large softbox or diffused lamp close to the subject, just outside the frame. Watch the shadow edge on the cheek or backdrop as you adjust. It should become less defined.
Size matters more than the fixture’s label. A modest diffusion panel placed close may look larger to your subject than a bigger panel set several metres away. Try moving the light closer in small steps, then check exposure and background brightness. The inverse-square falloff can make nearby areas much brighter, so repositioning may be needed. Keep the source far enough from the shot to avoid reflections in glasses or shiny surfaces.
A larger source can also spill light onto places you want dark. Use a flag, curtain, or piece of black fabric to limit that spill without shrinking the source. I sometimes expect one adjustment to fix everything, but face angle and room surfaces still change the result. Test a short clip, not just a still frame. Look for softened edges, even skin tones, and distracting bright patches. That small review can catch problems before a full take.
Move the Light Closer, Using the Inverse-Square Law to Guide Placement
Move the light closer to your subject, then adjust its brightness or exposure. The inverse-square law offers a useful starting point: double the distance, and the subject receives roughly one-quarter of the light. Halve the distance, and illumination can rise about fourfold. These are idealized estimates, not exact promises; reflectors, room surfaces, and light modifiers affect what your camera records.
Try placing a softbox about 1.2 meters from a seated subject instead of 2.4 meters away. Its apparent size grows, which can soften shadow edges on the cheek and wall. Keep the light slightly above eye level, then watch how the nose shadow changes as you move it. Watch the background. A nearby light loses strength quickly across the room, so a face may look bright while the wall behind it falls darker. That can help separate the subject, but it may also create uneven exposure across a group.
Check the image on your camera, not just by eye. A bare bulb moved closer may brighten the scene without making shadows noticeably softer; source size matters. I have found this easy to misjudge when setting up quickly. If the face becomes too bright, lower the output or close the aperture, then inspect the shadow edge again. Small adjustments matter.
Match Color Temperature: 3200 K Tungsten or 5600 K Daylight
Harsh shadows come from small, distant, or poorly positioned lights; color temperature will not soften their edges. It can, however, keep lit areas and shadow detail from shifting to different colors. Set the camera’s white balance near the key light: around 3200 K for tungsten fixtures, or 5600 K for daylight-balanced sources. A warm desk lamp mixed with a cool window can make one cheek orange and the other blue. That can be distracting.
These numbers are useful starting points, not exact descriptions of every lamp. CIE 15:2018 lists standard daylight illuminants D55 at about 5503 K and D65 at about 6504 K, so “5600 K daylight” is a practical production convention. For reference, ITU-R BT.709-6 specifies the D65 white point at x=0.3127, y=0.3290.
Check the actual scene, not just the fixture label: inexpensive or dimmed lights may shift in color. A gray card near the subject helps you judge white balance before recording. Then add fill from a source with a similar color temperature. I still find mixed lighting easy to underestimate, especially when a monitor looks fine but skin tones do not.
Add Bounce, Diffusion, and Flags; Choose Fixtures Rated CRI 90+
Harsh shadows often come from a small, direct light source. Bounce it off a white board or pale wall to create a broader, softer source. Move the board close to the subject; even a few inches can change how gently light wraps around a face. For a warmer look, try a neutral surface only after checking its color on camera. Diffusion also softens light. Place a diffusion frame between the fixture and subject, leaving enough distance for the light to spread evenly. It will reduce brightness, so adjust exposure or output. Watch the background, too. A soft shadow can still look distracting if it lands across a bright wall.
Use black flags to shape the light, not just soften it. Position one beside the subject to block spill from a wall or lens. Small changes matter. I still find that flags can make a scene feel too dark when placed too close, so check the face and background together. Choose fixtures rated CRI 90 or higher for more dependable color rendering, especially for skin and clothing. CRI is useful, but it does not tell the whole story; camera settings and mixed light can still shift colors. Record a short test clip and inspect familiar colors, such as a red shirt or a sheet of white paper, before filming the full scene.
Soften Shadows with a Larger Apparent Light Source
A larger source appears wider from the subject’s position and generally creates softer-edged shadows. Values show the calculated angular width of three example sources viewed from 2 m, using their stated widths. Try diffusion or bouncing light off a larger surface; use fixtures rated CRI 90+ when color fidelity matters.
Conclusion
Harsh shadows in video are usually caused by lighting that is too small, too distant, or poorly balanced. If you’re asking, “Why cant I get rid of harsh shadows in my videos,” start by checking the key-to-fill ratio. A ratio near 2:1 provides a gentle contrast that keeps images dimensional without making shadows too dark. Increasing the apparent size of the light source also softens shadow edges, while moving the light closer can create a softer, more even look. Use the inverse-square law as a guide: small changes in distance can make a noticeable difference in brightness.
For more control, match your lights to a consistent color temperature, such as 3200 K for tungsten-style lighting or 5600 K for daylight. Bounce light off a pale surface to fill shadows, use diffusion to spread and soften direct light, and place flags to block unwanted spill. Choose fixtures with a CRI of 90 or higher for more natural color. Together, these adjustments help create balanced, flattering lighting and reduce harsh shadows without sacrificing detail.

 Gravity Light