A bulb can look steady in a ceiling fixture and still produce rapid changes in light output. That variation may be invisible to your eyes, yet appear as moving bands in a phone video. Not every camera test is conclusive, though; shutter settings and frame rates can create misleading artifacts. A better assessment combines careful observation with reliable product data and, when available, instrument measurements.
Small details matter. Check the bulb’s packaging or manufacturer specifications for flicker metrics, test conditions, and dimmer compatibility. Terms such as “flicker-free” are not always used consistently, so look for measurements rather than a label alone. The method behind each measurement matters, too. This guide addresses the question, “How to tell if a light bulb is truly flicker-free,” without treating one quick trick as proof. You’ll learn what common indicators can reveal, what they cannot, and when a dedicated flicker meter may help. Compare the same bulb at full brightness and at a low dimming level, where some drivers may behave differently. If you notice headaches or eye strain, testing another bulb may be worthwhile, but symptoms have many possible causes. No single reading predicts comfort for everyone. That uncertainty deserves attention. The goal is a practical, evidence-informed check: inspect specifications, test your setup thoughtfully, and avoid claims stronger than the available evidence.
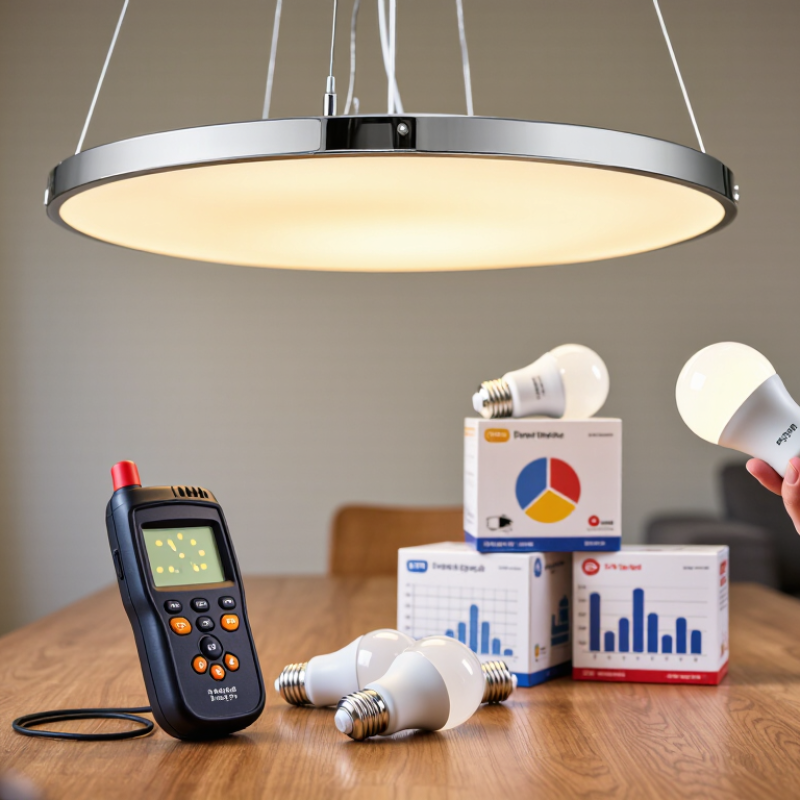
In LED lighting, flicker means repeated changes in a lamp’s light output over time. The changes may be too rapid or subtle to see directly, yet they can appear as dark bands in phone videos or create stroboscopic effects on moving objects. A steady-looking bulb is not necessarily flicker-free. Its driver, dimmer, and power supply can all affect the output.
IEEE Std 1789-2015 gives frequency-dependent guidance for modulated lighting. At 100 Hz, its low-risk recommendation is about 8% modulation; its more conservative no-observable-effect line is about 3.3%. These are recommendations, not a guarantee that every person will respond the same way. The European Commission’s Ecodesign Regulation 2019/2020 also sets flicker-related limits for applicable light sources: PstLM no higher than 1.0 and SVM no higher than 0.4. PstLM assesses visible flicker, while SVM addresses stroboscopic effects. A phone camera can offer a clue, but rolling shutter can create misleading stripes. Proper testing uses instruments that measure light output over time, including under dimming. “Flicker free” on a package is not, by itself, a measurement.
What flicker means in LED lighting: rapid changes in light output over time.
These illustrative waveforms show normalized light output, not measurements of specific bulbs. The low-modulation example varies from 98% to 100%; the high-modulation example varies from 20% to 100%. Flicker percentage is calculated as (maximum − minimum) ÷ (maximum + minimum) × 100, giving about 1% and 67%, respectively. A flatter waveform indicates less modulation, though no graph alone proves a bulb is flicker-free.
How to Tell If a Light Bulb Is Truly Flicker Free?
Which Bulb Specifications Indicate Low Flicker
A bulb’s package may say “flicker free,” but the phrase alone tells you little. Check the technical sheet for PstLM and SVM values. PstLM estimates visible short-term flicker; SVM measures stroboscopic effects. Lower readings generally indicate less risk of noticeable flicker. Values at or below PstLM 1.0 and SVM 0.4 are useful reference points in some standards, not a guarantee of zero flicker. Test conditions matter.
Tips: Look for percent flicker and flicker index, too. Lower values are generally preferable, but these figures can be calculated or reported differently. Compare bulbs only when their measurement methods match. Check whether the results apply at full brightness or with a dimmer. A bulb can behave smoothly at full output, then pulse when dimmed. Small print matters.
If no figures are listed, ask for test data rather than relying on promotional wording. A credible specification should name the metric, test conditions, and dimming setup. Flicker can also vary with the electrical supply and the bulb’s driver, so one published result cannot describe every installation. In a shop, a phone camera may show dark bands, but camera settings affect what appears. It is a clue, not a measurement. My own preference is to compare the numbers first, then test the bulb in its intended fixture.
| Specification | What to Look For | What It Tells You | Important Caveat |
|---|---|---|---|
| PstLM | For applicable light sources in the EU, look for a declared value at or below 1.0; lower values indicate less short-term flicker. | A standardized measure of short-term light-level fluctuation intended to reflect visible flicker perception. | The EU Ecodesign limit is not a guarantee that every person will find a lamp comfortable or flicker-free. |
| SVM | For applicable EU-regulated light sources, look for a declared value at or below 0.4; lower is generally preferable. | Measures the visibility of stroboscopic effects, such as moving objects appearing discontinuous under flickering light. | It does not describe every type of flicker, and passing the limit does not mean the measured value is zero. |
| Percent flicker (modulation depth) | Prefer a low measured percentage, with test results provided at the bulb’s operating voltage and settings. | Describes the size of the light-output variation. It is commonly calculated as (maximum light output − minimum light output) ÷ (maximum + minimum) × 100%. | There is no single universal pass value; the result should be considered alongside frequency and waveform. |
| Flicker index | A lower value indicates less fluctuation; a value of zero corresponds to constant light output during the measurement. | Uses the light-output waveform to describe how much variation occurs over a cycle. | No single threshold is universally accepted for all lamps and use cases. Compare results taken with the same method. |
| Flicker frequency and waveform | Look for a measured waveform or a complete flicker report, not just a high frequency figure. | Shows how quickly light output changes and whether the variation is smooth, pulsed, or irregular. | Frequency alone cannot establish low flicker: modulation depth and waveform also matter. |
| Dimming performance | Check test results at full brightness and at dimmed settings, using the intended dimmer if applicable. | Indicates whether flicker changes as the lamp is dimmed or paired with a particular control. | A bulb may perform well at full output but flicker, buzz, or become unstable with an incompatible dimmer. |
| Test conditions and report | Prefer results that identify the measurement method, supply voltage, operating mode, and dimming level. | Makes the reported figures more useful for comparing bulbs under similar conditions. | Unqualified claims such as “flicker-free” may not describe the test method or performance across all settings. |
| Practical takeaway: prioritize published PstLM and SVM results where applicable, then check modulation data and performance at the brightness and dimmer settings you actually use. “Low flicker” is more informative than an unsupported claim of absolute zero flicker. | |||
Let the bulb run for several minutes before checking it. Look at a plain, pale wall from a few feet away, with the bulb in your peripheral vision. Flicker can be easier to notice this way than by staring directly at the light. Avoid prolonged direct viewing.
Try again. Check the bulb at full brightness, then at any dimmed settings you normally use. Slowly move your hand across the light, or wave a pencil from side to side. A repeated, broken-looking trail may suggest flicker or a strobing effect. The result can be subtle, and your eyes may miss it in a bright room. That matters.
A phone’s slow-motion camera can offer another clue. Record the bulb against a plain wall, then look for moving dark bands or pulsing brightness. But camera sensors can create bands even when flicker is not obvious to your eyes. Not definitive.
Repeat the check under the same conditions, and compare with a bulb you already find comfortable. Note the dimmer setting, distance, and room lighting; small changes can affect what you see. A home check is useful, but it cannot certify a bulb as flicker free.
A camera can reveal visible flicker, but it cannot prove a bulb is flicker free. Set your phone to slow-motion video and point it at a matte white wall lit by the bulb. Keep the camera still, and lock exposure and focus if possible. Dark bands or pulsing brightness may indicate light modulation. They can also come from the camera’s rolling shutter, so treat them as a warning, not a verdict. No bands? That is not proof.
For a more useful check, use a flicker meter designed to measure light modulation. Let the bulb warm up, then measure it at the same distance and brightness you use at home. Record the modulation depth and frequency; some meters also report standardized flicker metrics. Higher modulation can be more noticeable, but frequency and viewing conditions matter too. A basic lux meter usually measures brightness, not flicker.
Test the bulb at full output and, if applicable, at several dimmer settings. Dimming can change its behavior. Repeat the reading, since a small shift in sensor position can affect results. Check the meter’s instructions and calibration status before relying on a number. Honestly, a quick phone test is imperfect, and even a meter has limits. If the result affects headaches or visual comfort, compare bulbs under real use and consult a qualified lighting professional.
A flicker reading needs context. Percent flicker describes the difference between a lamp’s brightest and dimmest output. It does not show how quickly the light changes or how people perceive it. A phone camera may show dark rolling bands, but that alone cannot reliably measure flicker. Use a calibrated flicker meter and check its stated method.
IEEE Std 1789-2015 gives frequency-based guidance for percent flicker. At 50 Hz, its low-risk recommendation corresponds to modulation below 1.25 percent. This is guidance, not a universal pass-or-fail test. For a broader view, look for PstLM and SVM results. Under applicable EU ecodesign requirements, many general light sources must meet PstLM ≤ 1.0 and SVM ≤ 0.4. IEC 61000-4-15 describes the flickermeter method used to assess short-term light fluctuation. Different metrics catch different effects. Read the test conditions, too.
A “flicker-free” label without measurements tells you little. Ask whether the report lists the dimming level, supply conditions, and measurement instrument. A bulb can behave differently when dimmed, even if it performs well at full output. I would not treat one passing result as proof for every room or dimmer. That may be an imperfect rule, but it is more cautious.
Flicker is repeated change in a lamp’s light output. It may be too fast to see directly. Moving objects or phone videos can reveal it.
Yes. A bulb may look steady while its output changes rapidly. Its driver, dimmer, and power supply can all affect performance.
Check PstLM, SVM, percent flicker, and flicker index. PstLM relates to visible flicker; SVM relates to stroboscopic effects. Lower readings are generally preferable.
PstLM at or below 1.0 and SVM at or below 0.4 are useful reference points. They do not guarantee zero flicker.
No. Slow-motion video may show dark bands on a matte white wall. Rolling shutter can also create misleading stripes. No bands prove nothing.
Let the bulb warm up, then measure it at your usual distance and brightness. Record modulation depth and frequency. Check calibration, too.
Yes. A bulb may behave smoothly at full brightness, then pulse with a dimmer. Test several settings. Small differences matter.
Ask for test data, including the metric, conditions, and dimmer setup. Promotional wording alone is weak evidence. I would still compare it at home.
Flicker in LED lighting refers to rapid changes in light output, which may be noticeable or too fast for the eye to detect. A bulb’s specifications can offer clues: look for stated flicker performance, dimmer compatibility, and information about how its light output is controlled. However, specifications alone may not tell the whole story. To explore how to tell if a light bulb is truly flicker-free, first observe it at different brightness levels and while dimming, noting any visible pulsing or discomfort.
A phone camera can reveal some flicker through moving bands or uneven brightness in a recording, but results depend on the camera’s settings and should be treated as a screening test. A dedicated flicker meter can provide more consistent measurements, including the amount and frequency of light variation. Interpret readings in context: measurement methods and thresholds differ, and a single number may not predict how every person experiences a bulb. Combine specifications, practical observation, and reliable measurements for a more informed assessment.

Gravity Light